ERC721 Example
Please keep in mind that this is an EVM-only NFT. It's not tied to L1 native assets. Also, these are different from L1 NFTs.
Prerequisites
Required Prior Knowledge
This guide assumes you are familiar with tokens in blockchain, Ethereum Request for Comments (ERCs)(also known as Ethereum Improvement Proposals ( EIP)) , NFTs, Smart Contracts and have already tinkered with Solidity.
About ERC721
Non-fungible tokens or NFTs are a type of token that can represent any unique object, including a real-world asset on a
decentralized network. NFTs are commonly represented by the (ERC721 standard).
You can use the
openzepplin
lib @openzeppelin/contracts/token/ERC721/ERC721.sol
to streamline your development experience.
You can also use the (OpenZepplin Contracts Wizard) to generate and customize your smart contracts.
The following is an example NFT Smart Contract called "HuskyArt".
// SPDX-License-Identifier: MIT
pragma solidity ^0.8.2;

import "@openzeppelin/contracts/token/ERC721/ERC721.sol";
import "@openzeppelin/contracts/token/ERC721/extensions/ERC721URIStorage.sol";
import "@openzeppelin/contracts/access/Ownable.sol";
import "@openzeppelin/contracts/utils/Counters.sol";

contract HuskyArt is ERC721, ERC721URIStorage, Ownable {
    using Counters for Counters.Counter;

    Counters.Counter private _tokenIdCounter;

    constructor() ERC721("HuskyArt", "HSA") {}

    function _baseURI() internal pure override returns (string memory) {
        return "https://example.com/nft/";
    }

    function safeMint(address to, string memory uri) public onlyOwner {
        uint256 tokenId = _tokenIdCounter.current();
        _tokenIdCounter.increment();
        _safeMint(to, tokenId);
        _setTokenURI(tokenId, uri);
    }

    // The following functions are overrides required by Solidity.

    function _burn(uint256 tokenId) internal override(ERC721, ERC721URIStorage) {
        super._burn(tokenId);
    }

    function tokenURI(uint256 tokenId)
        public
        view
        override(ERC721, ERC721URIStorage)
        returns (string memory)
    {
        return super.tokenURI(tokenId);
    }
}
As you can see above, the contract uses standard methods for the most part. You should pay attention to the following:
pragma solidity ^0.8.2;: This line means the contract uses solidity compiler version 0.8.2 or above.constructor() ERC721("HuskyArt", "HSA") {}: This defines the token name and symbol. You can name it whatever you want. We recommend using the same name for the token and the contract.import "@openzeppelin/contracts/utils/Counters.sol";: This lib is used to create auto-incremental ids for the tokens.return "https://example.com/nft/";: You should define the base URI of your NFTs. That means the URL you provide here will be used for all your tokens. Since this contract uses auto-incremental token ids, your token URI will look something likehttps://example.com/nft/0,https://example.com/nft/1,https://example.com/nft/2, and so on.function safeMint(address to, string memory uri) public onlyOwner {: The safeMint function. This function will require you manually input a token'stoaddress and aurievery time you want to mint one. This should work for regular use-cases.// SPDX-License-Identifier: MIT: This line specifies the license type. You do not need to worry about this for this example. If you want to keep it unlicensed, replace it with// SPDX-License-Identifier: Unlicensed.
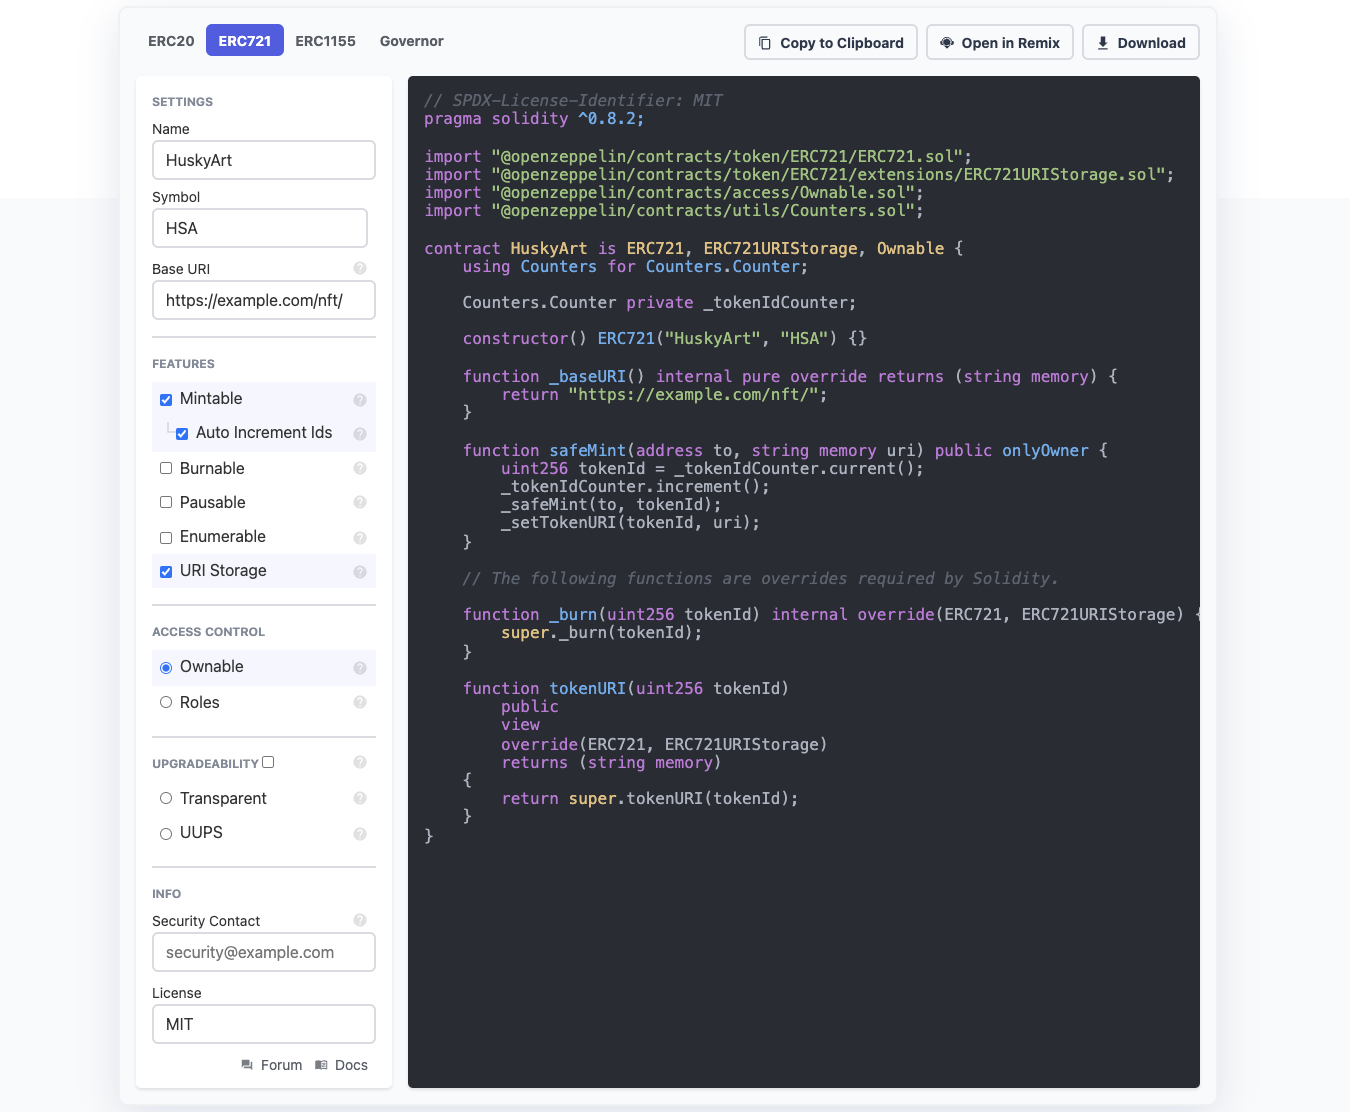
You can customize your contract depending on how you would like it to behave. You should consider the following topics and questions:
- Ownership — Who owns it? How is it stored?
- Creation — Method or Type of Creation.
- Transfer & Allowance — How will tokens be transferred? How will they be available to other addresses and accounts?
- Burn — Do you want to destroy it? If yes, how?
You can click on Copy to Clipboard and paste it into the IDE of your choice, download it, or click on open in Remix directly. This example uses Remix.
Compile
Compile your Smart Contract to generate the ABI and Bytecode.
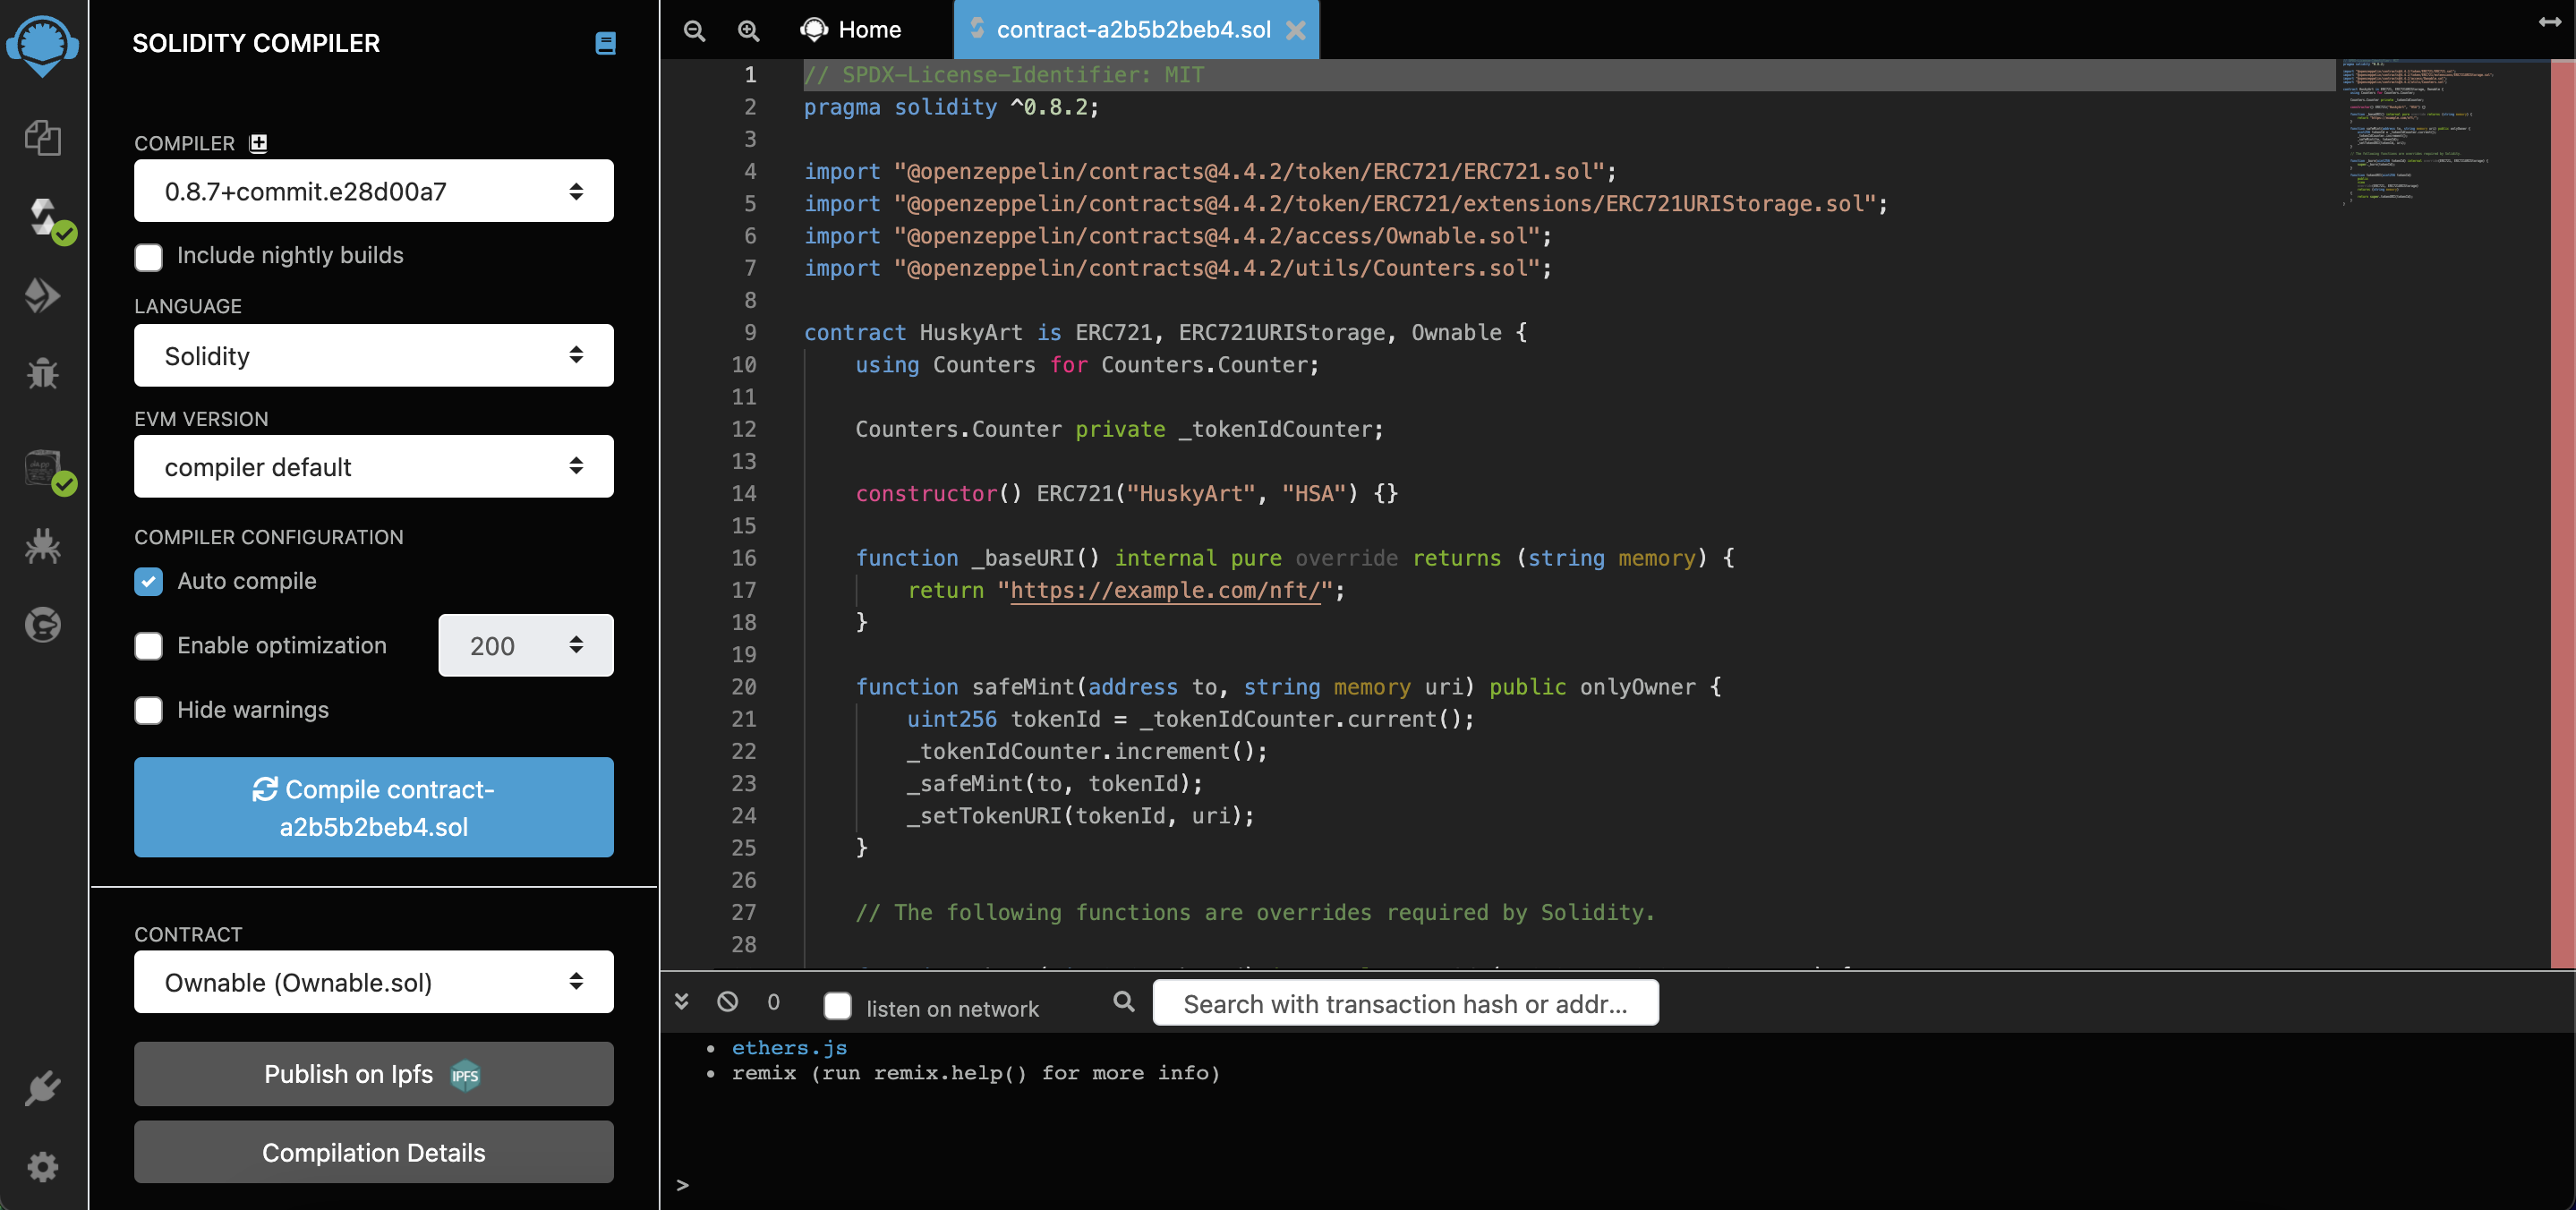
You can check Auto Compile so you do not have to compile every change you make manually.
After successfully compiling your smart contract, you can proceed to deploy it.
Deploy
Connect Your Ide to the Network Where You Want to Deploy the Smart Contract.
This example uses the Remix IDE with Metamask to handle this task. If you are using hardhat or truffle, you should customize the config file accordingly.
Connect to the ISC Testnet
You can find instructions on this in the [testnet endpoints section][testnet endpoints section](https://wiki.iota.org/smart-contracts/guide/chains_and_nodes/testnet#endpoints).
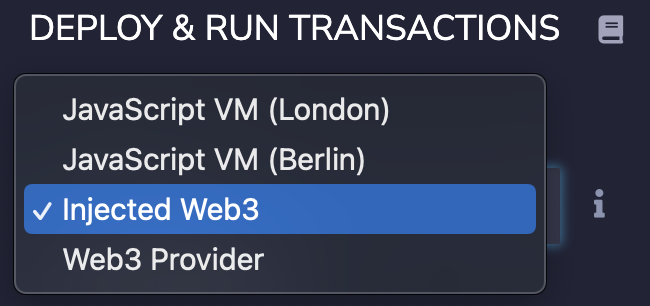
Change the Environment to Injected Web3
After you have completed the previous steps, please select the Injected Web3 network as pictured below.
Wait for the IDE to sync. If it does not, please refresh and try again.
Select Your Smart Contract From the Dropdown
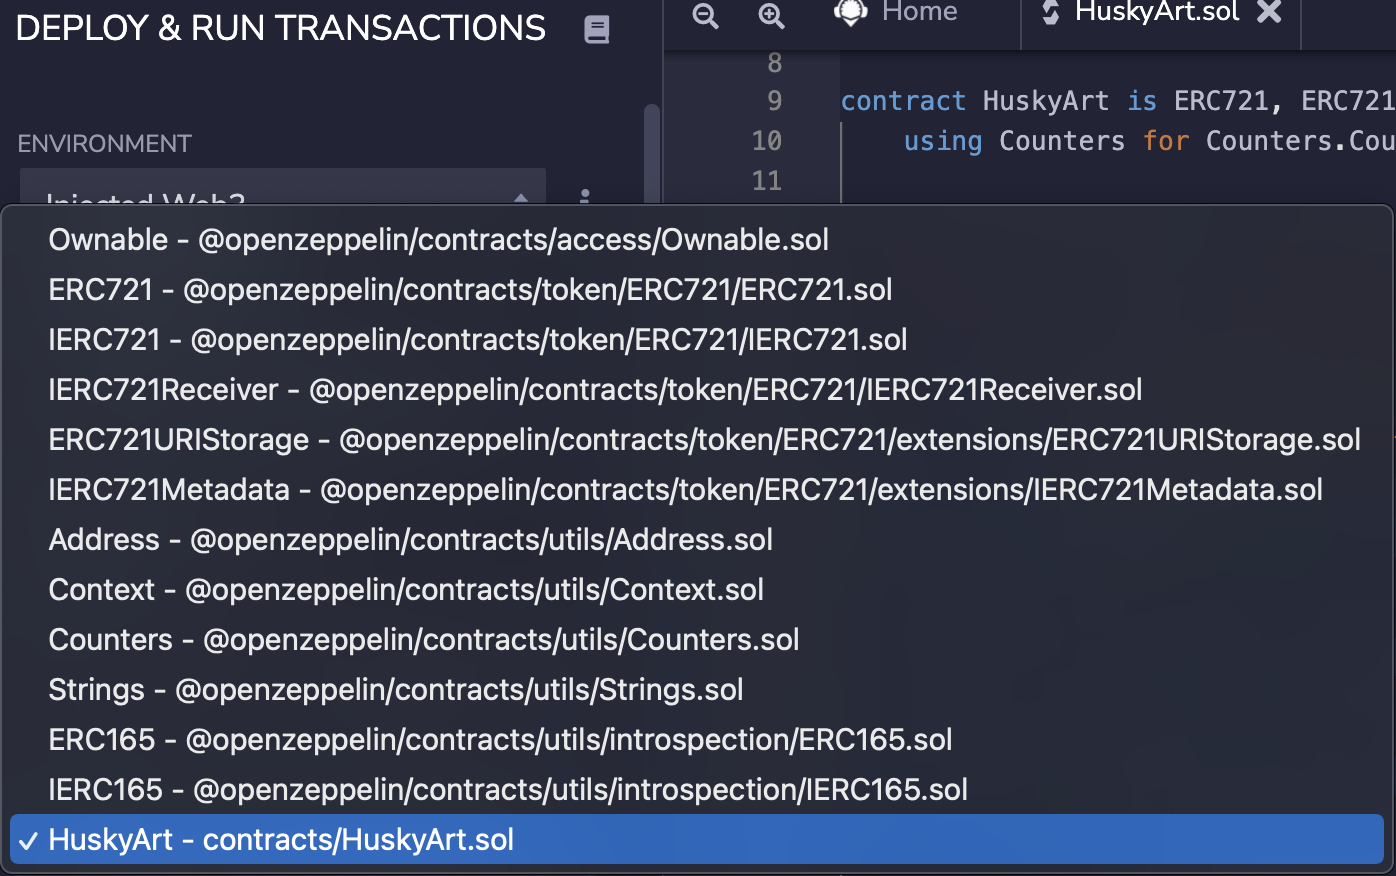
Select Your New Smart Contract
Once you have changed the environment to injected web3, you can proceed to select your Smart Contract from the dropdown. Ideally, you will see only one option here. However, since your contract imports quite a few libs, those may show up by default.
Deploy Your Contract
Click on Deploy. This should open Metamask and ask you to sign the transaction. Please do so and wait for
confirmation.

If you see something like this, your contract is now deployed. You can also verify this on the explorer or explore more on Metamask.
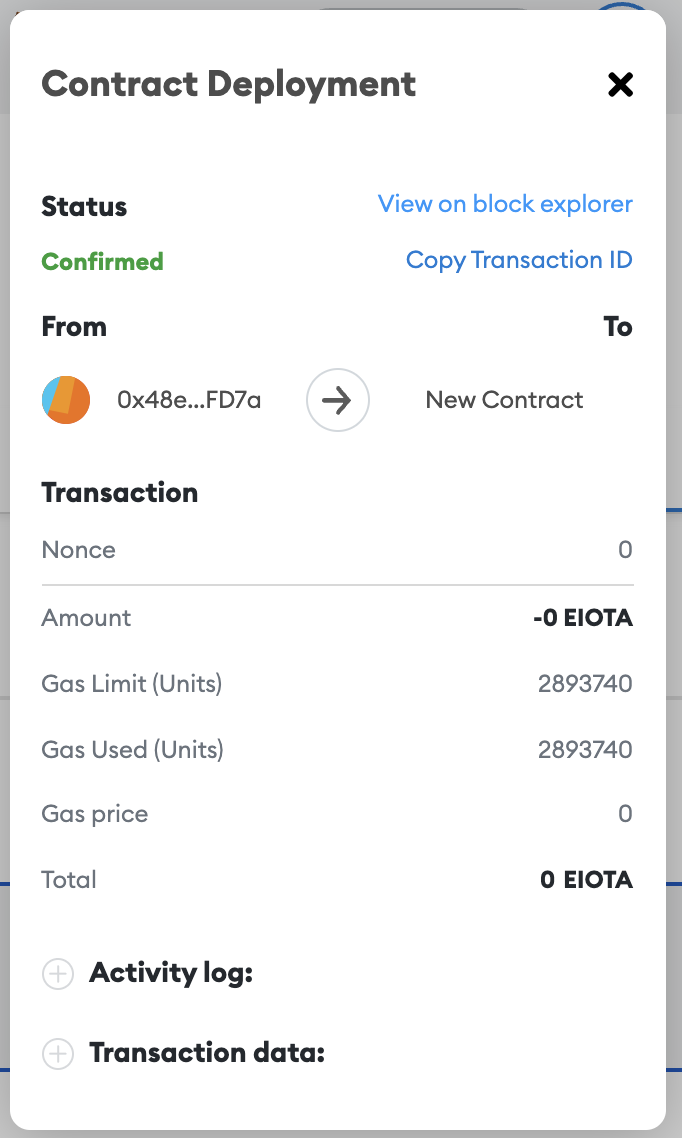
The node used in this example has 0 gas fees. However, depending on which node you choose to deploy, there may be some
gas fees.
Possible Next Steps
The above smart contract was generated by the OpenZepplin Wizard and is good enough to be used in production environments. However, you may want more conditions or actions added to it. For example, you could add royalty for every transfer done after minting.